![[Libtorch] Libtorch visual studio 빌드하기](https://img1.daumcdn.net/thumb/R750x0/?scode=mtistory2&fname=https%3A%2F%2Fblog.kakaocdn.net%2Fdna%2Fcv5M7K%2FdJMb99SclZy%2FAAAAAAAAAAAAAAAAAAAAADs4Ee0aH5GDJG6d28anIBWuc7rKc3TUqJSDmQnhqQfv%2Fimg.png%3Fcredential%3DyqXZFxpELC7KVnFOS48ylbz2pIh7yKj8%26expires%3D1772290799%26allow_ip%3D%26allow_referer%3D%26signature%3DbbqrsXvaQRHxzrVxz2gl3eH2TVM%253D)
Libtorch는 Pytorch의 내부 C++ 엔진입니다. 오늘은 공식 문서 예제를 이용해 CMake 빌드를 해보겠습니다.
1. CUDA 설치 확인
자신의 쿠다 버전이 몇인지 확인합니다.
1) 명령어 입력
nvcc --version
2) 환경 변수로 확인
설정 -> 시스템 -> 고급 시스템 설정 -> 환경 변수 -> 시스템 변수 -> Path(더블클릭)

3) 설치 파일에서 확인
C:\Program Files\NVIDIA GPU Computing Toolkit\CUDA\v12.6있다면 설치가 된 겁니다.
없다면 직접 들어가서 설치해 줍니다.
https://developer.nvidia.com/cuda-12-6-0-download-archive
CUDA Toolkit 12.6 Downloads
developer.nvidia.com
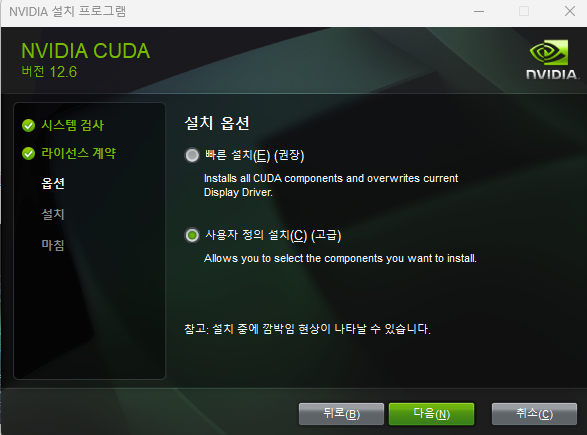
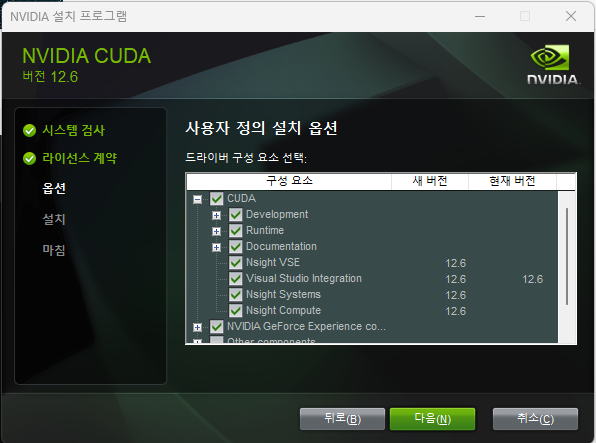
설치 과정에서 위의 2가지를 진행해주세요. 그래야 Visual Studio에서 CUDA 12.6이 잡힙니다.
- GPU를 사용하지 않으실 분이라면 건너뛰어도 무방합니다.
2. Libtorch 설치
pytorch 홈페이지에서 Libtorch를 설치하겠습니다.
https://pytorch.org/get-started/locally/
Get Started
Set up PyTorch easily with local installation or supported cloud platforms.
pytorch.org

다운로드 후 압축해제는 원하는 곳에 해주시면 됩니다. 저는 C드라이브에 했습니다.
C:\libtorch
3. CMake 설치
빌드 툴인 cmake를 설치하겠습니다.
Download CMake
You can either download binaries or source code archives for the latest stable or previous release or access the current development (aka nightly) distribution through Git. This software may not be exported in violation of any U.S. export laws or regulatio
cmake.org
지금 Latest Release는 4.1.2이네요. 링크에 접속해 Windows x64 Installer를 설치해줍니다.
.msi 확장자 파일을 다운받으시면 됩니다.
설치시 "Add CMake to the PATH environment variable" 항목이 있는데 체크해주세요.
설치가 완료 되었으면 버전을 확인해서 설치 확인해 주세요.
cmake --version
4. 바탕화면에 프로젝트 생성
1) 바탕화면(어디여도 좋습니다) 임시폴더 생성(Libtorch-cmake-test)
Visual Studio 로컬 폴더 열기로 빈 폴더를 열어줍니다.
프로젝트 폴더를 아래와 같이 구성합니다.
Libtorch-cmake-test
	├─ CMakeLists.txt
	└─ main.cpp
2) Libtorch CMakeLists.txt 공식 예제 확인
https://docs.pytorch.org/cppdocs/installing.html
Installing C++ Distributions of PyTorch — PyTorch main documentation
Installing C++ Distributions of PyTorch We provide binary distributions of all headers, libraries and CMake configuration files required to depend on PyTorch. We call this distribution LibTorch, and you can download ZIP archives containing the latest LibTo
docs.pytorch.org
3) CMakeLists.txt 파일 작성하기
cmake_minimum_required(VERSION 3.18 FATAL_ERROR)
project(example-app)

find_package(Torch REQUIRED)
set(CMAKE_CXX_FLAGS "${CMAKE_CXX_FLAGS} ${TORCH_CXX_FLAGS}")

add_executable(example-app example-app.cpp)
target_link_libraries(example-app "${TORCH_LIBRARIES}")
set_property(TARGET example-app PROPERTY CXX_STANDARD 17)

# The following code block is suggested to be used on Windows.
# According to https://github.com/pytorch/pytorch/issues/25457,
# the DLLs need to be copied to avoid memory errors.
if (MSVC)
  file(GLOB TORCH_DLLS "${TORCH_INSTALL_PREFIX}/lib/*.dll")
  add_custom_command(TARGET example-app
                     POST_BUILD
                     COMMAND ${CMAKE_COMMAND} -E copy_if_different
                     ${TORCH_DLLS}
                     $<TARGET_FILE_DIR:example-app>)
endif (MSVC)
여기서 add_executable() 부분의 example-app.cpp를 main.cpp로 바꿔주세요.
- find_package(Torch REQUIERD)에서 문제가 생긴다면 아래 코드를 바로 위에 넣어보세요
- set(CMAKE_PREFIX_PATH "C:/libtorch")
4) main.cpp 작성하기
#include <torch/torch.h>
#include <iostream>

int main() {
    try {
        // 랜덤 텐서 생성
        torch::Tensor tensor = torch::rand({ 2, 3 });
        std::cout << "✅ Libtorch tensor created successfully!\n";
        std::cout << tensor << std::endl;

        // 간단한 연산
        auto result = tensor * 2 + 1;
        std::cout << "\nResult of tensor * 2 + 1:\n" << result << std::endl;
    }
    catch (const c10::Error& e) {
        std::cerr << "⚠️ Libtorch error: " << e.what() << std::endl;
    }

    return 0;
}
이제 다음 명령어를 순서대로 입력해 빌드
mkdir build
cd build
cmake -G "Visual Studio 17 2022" -T "cuda=12.6" -A x64 -DCMAKE_PREFIX_PATH="C:/libtorch/share/cmake/Torch" ..- 다른 쿠다 버전을 사용하신 분이라면 12.6에서 수정해서 사용하세요.
- build 파일은 프로젝트 디렉토리 아래에 있어야 합니다.
... (생략) ...
-- Added CUDA NVCC flags for: -gencode;arch=compute_89,code=sm_89
-- Found Torch: C:/libtorch/lib/torch.lib
-- Configuring done (17.7s)
-- Generating done (0.1s)
-- Build files have been written to: C:/Users/hgk04/OneDrive/Desktop/Libtorch-cmake-test/build
이렇게 "Found Torch"가 되면 빌드 성공입니다.
이제 main.cpp를 실행합니다.

'[Computer Science] > [C & C++]' 카테고리의 다른 글
| [C/C++] const의 위치에 따른 의미 정리 (0) | 2022.04.20 |
|---|---|
| 2개 이상의 class 파일 분할 (0) | 2022.03.24 |
| C++ 파일 분할(visual studio) (0) | 2022.03.24 |